Este artigo está disponível em inglês.
To change a passport photo background, cut the person out of the original photo with a background remover, place them on a plain white (or light grey) background, and export the image at the exact size your application asks for. You can do all three steps free in your browser with WoowTools, and your photo is never uploaded.
That matters because a background is the most common reason home made passport and visa photos are rejected. A beige wall, a shadow behind your head or a door frame in the corner is enough. Below is the full process, the background color each country usually wants, and the mistakes that get photos sent back.
What a passport photo background must look like
Almost every country asks for the same thing: a plain, evenly lit background with no pattern, no objects and no shadow, in a light color. The exact color differs.
| Document | Usual background | Usual size |
|---|---|---|
| US passport and visa | White or off-white | 2 x 2 in (600 x 600 px) |
| UK passport | Light grey or cream | 35 x 45 mm |
| India passport and visa | White | 35 x 45 mm (2 x 2 in for some visas) |
| Schengen visa | Light grey or light, plain | 35 x 45 mm |
| China visa | White | 33 x 48 mm |
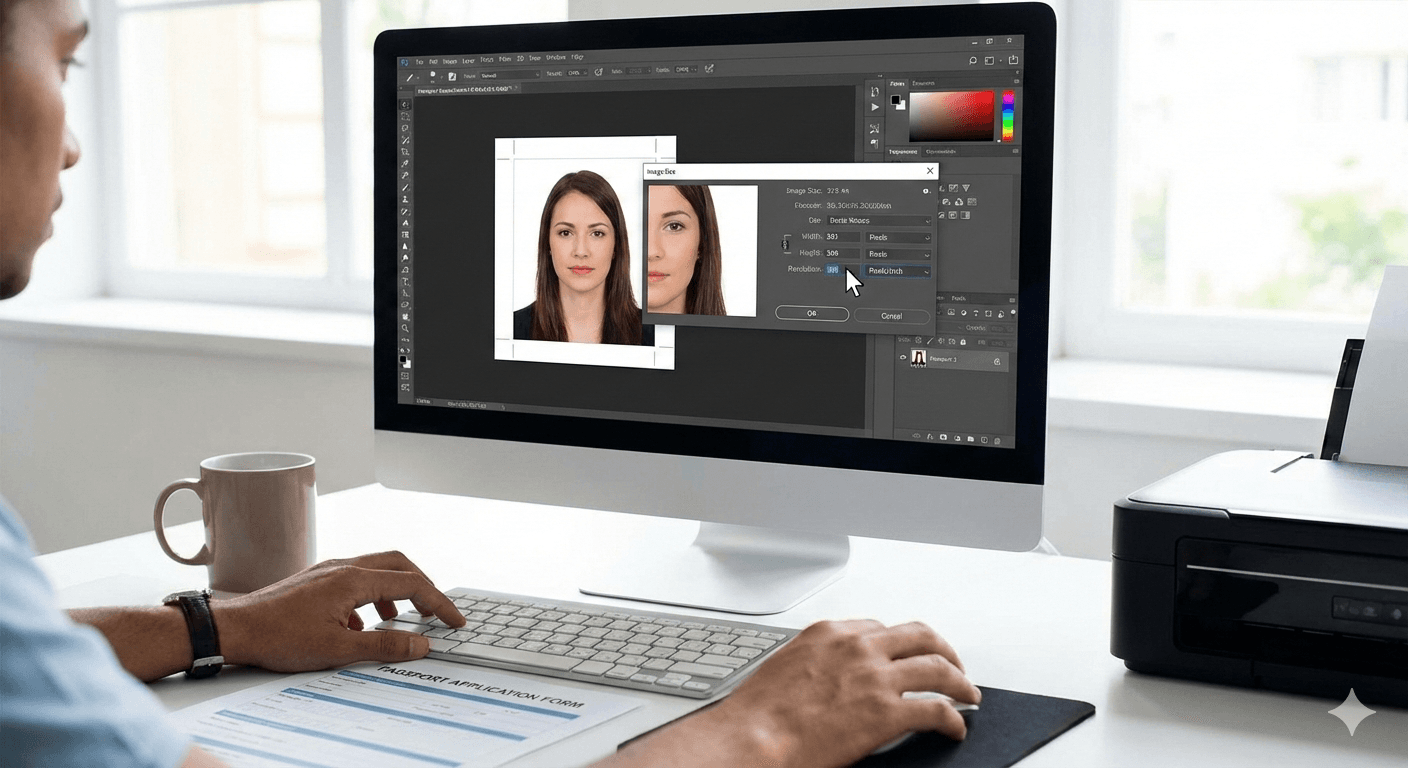
If you are printing at a shop, export at 300 DPI so a 2 x 2 inch photo is 600 x 600 pixels and a 35 x 45 mm photo is about 413 x 531 pixels. For online forms the pixel size in the instructions is what counts.
Rules change, so always check the official page of the passport office or embassy before you print or upload. When in doubt, plain white is the safest choice for most applications.
How to change a passport photo background (step by step)
Step 1: Remove the old background
- Open the AI background remover and add your photo.
- Pick a model. Standard works for most portraits. Best quality gives finer hair edges and needs a browser with WebGPU, such as Chrome or Edge.
- Wait a few seconds. The first time, the model downloads once and is then cached by your browser. The cut out runs on your device, so the photo stays private.
- Zoom in on the hair and ears. If a bit of wall is left, or part of your shoulder disappeared, fix it with the brush and eraser.
- Set the background to a solid color and pick white, or keep it transparent and download a PNG for the next step.
Step 2: Set the passport size and background color
- Open the ID photo background changer and upload the transparent PNG from step 1.
- Choose your document: US passport, US visa, India passport, UK passport, Schengen visa, China visa or a custom size.
- Choose the background: white, light blue, light grey, light red or any custom color.
- Check the preview and download the photo as a JPG.
Upload a photo that still has its original background and that background stays, because this tool resizes the photo and adds the color around it. That is why step 1 comes first.
Need a print sheet with several copies instead? The passport photo maker has size presets for the US, UK, Canada, India, Australia, the EU, China and Japan.
Step 3: Meet the upload limit
Online application forms often cap the file size, for example 20 KB, 50 KB or 100 KB, and reject anything bigger. If yours does, run the finished JPG through compress image to 20KB or compress image to 50KB. Compress once, at the end, so the face stays as sharp as possible.
How to take a photo that is easy to fix
A good original makes the background change almost perfect.
- Stand half a meter to a meter in front of a plain, light wall. The further you are from it, the fewer shadows fall behind you.
- Face a window or soft light. Even light on the face and no flash glare.
- Ask someone else to take it from about 1.2 meters away at eye level, not a selfie at arm's length, which distorts the face.
- Keep hair off the face and the ears visible if your country requires it.
- Use the main camera at full resolution. You can always shrink a photo; you cannot add detail later.
Common mistakes that get photos rejected
- Gray halo around the hair. Use the best quality model or touch up the edge with the brush.
- A shadow on one side of the neck. Removing the background removes wall shadows, but not shadows on your skin. Retake the photo with light from the front.
- Pure bright white on a pale face. Some offices prefer off-white or light grey so the face stands out. Follow the color in the rules.
- Wrong proportions. Do not stretch the photo to fit; use a preset or crop with the image cropper.
- Over-compressed files. Blocky skin or blurred eyes can fail automatic checks. Compress only as far as the form requires.
- Edited features. Changing the background is fine; smoothing skin, whitening eyes or reshaping the face is not allowed for official photos.
Is it allowed to edit the background yourself?
Most passport offices accept photos you take and prepare yourself, as long as the result meets their rules and still looks exactly like you. Replacing a plain wall with a plain color is a background change, not a change to your appearance. Some services, such as certain visa centers, still require photos from an approved studio, so read the instructions for your specific application.
Why do it in your browser?
Passport photos are biometric data. Many online editors upload your face to a server to process it. WoowTools runs the background removal and resizing on your own device, with no sign-up and no watermark, so the photo never leaves your computer or phone.
Start with the AI background remover, then finish the size and color in the ID photo background changer.
Frequently asked questions
How do I change my passport photo background to white for free?
Remove the original background with a free AI background remover, then place the cut out on a white background at your country's passport size. On WoowTools both steps run in your browser, with no sign-up or watermark.
What background color is required for a passport photo?
Most countries ask for white or off-white. The UK asks for light grey or cream, and some visas accept light grey. Check the official rules for your document before you upload or print.
Can I change the background of a passport photo on my phone?
Yes. The background remover and ID photo tools work in mobile browsers. The best quality model needs WebGPU, so use the standard model if your phone browser does not support it.
Why was my passport photo rejected for the background?
Common reasons are shadows behind or beside the head, an uneven or off-color background, visible objects or edges of a wall, and a halo of the old background around the hair. Retake the photo with even front light and clean up the edges.
How do I make my passport photo smaller than 20 KB?
Finish the background and size first, then compress the JPG once with a target size tool such as compress image to 20KB. Compressing earlier and editing again lowers the quality more than necessary.
Is my photo uploaded when I change the background?
No. The WoowTools background remover runs its model in your browser, and the resizing happens on your device, so the photo is not sent to a server.
- passport photo
- background remover
- id photo
- photo editing
- how to
Compartilhar